The Plastic Board Blues
Look, I need to confess something. Until recently, I was that person with the sad, warped cutting board from the discount store. You know the one — it slides across the counter when you're chopping onions, develops weird stains, and somehow always smells a little funky no matter how much you scrub it.
Then I discovered the magic of homemade wooden cutting boards, and I honestly can't believe I waited this long.
Here's the thing: wooden cutting boards are actually gentler on your knives than the plastic ones you'd expect. They have a bit of give that absorbs the impact of your blade, which means your knives stay sharper longer. Plus, with proper care, a well-made wooden board can last you a lifetime.
Side Grain vs. End Grain: The Quick Version
Before we dive in, let's clear up some terminology. You've probably heard of "end grain" boards — those beautiful ones with the checkerboard pattern where you see the ends of wood pieces facing up. They're gorgeous, but they're also more advanced projects.
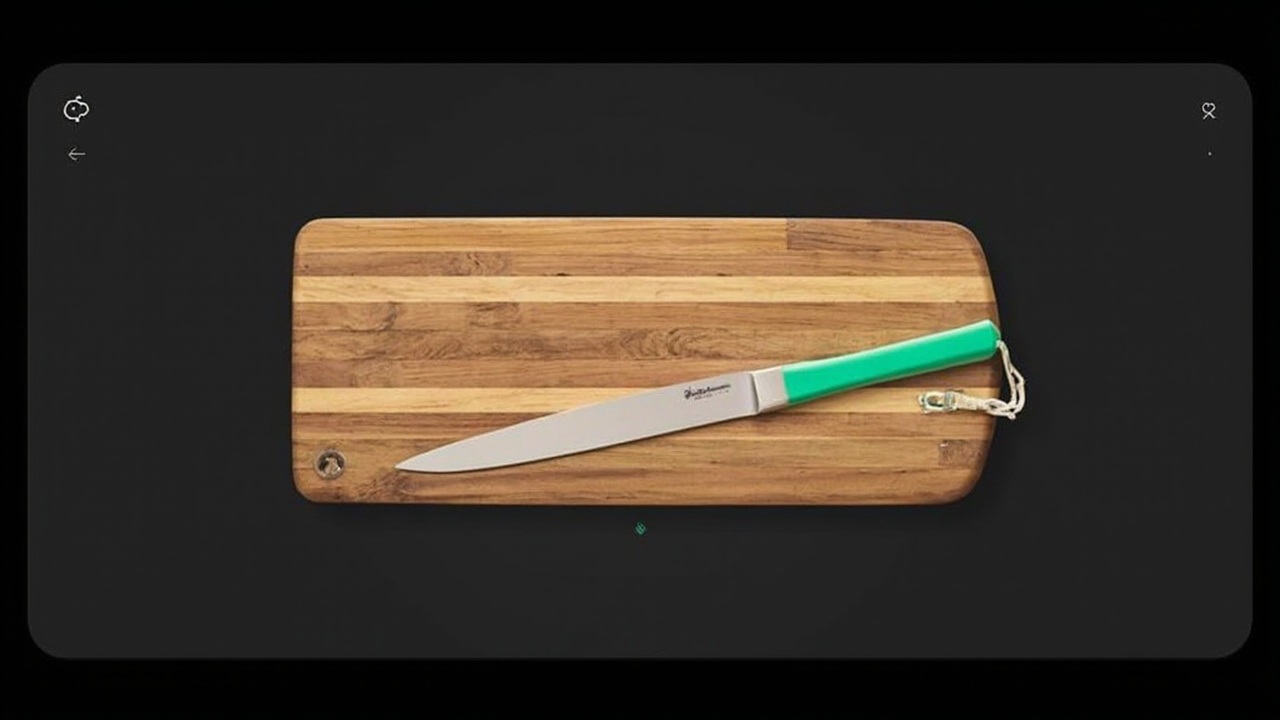
For beginners, side grain boards are your best friend. These are the classic cutting boards where you can see the wood grain running from one end to the other. They're simpler to make, require fewer tools, and still give you that satisfying wooden board experience.
Picking the Right Wood (This Matters!)
Here's where a lot of beginners go wrong — they grab whatever wood looks pretty at the hardware store. Not so fast!
I talked to Shane Kline, a furniture maker from Walnut St. Woodworks, and he gave me some solid advice. You want wood that's hard enough to resist knife marks but not so dense that it damages your blades. His recommendations?
- Maple — The classic choice. It's hard, has a tight grain, and is super durable
- Walnut — Stunning dark color and still plenty tough
- Cherry — Gets more beautiful with age and ages like fine wine
The key is looking for wood with a tight, small-grained pattern. This helps the board resist absorbing water (which leads to warping and cracking) while still being kind to your knives.
The Secret to a Flat Board: Grain Direction
Here's a pro tip that made everything click for me: when you're gluing your strips together, pay attention to the grain direction.
If you notice the wood grain curves or angles in different pieces, alternate them so the curves face opposite directions at each glue joint. Think of it like balancing forces — when one piece wants to warp one way, the neighboring piece pulls it back the other way.
This little trick is the difference between a board that stays perfectly flat for years versus one that starts cupping and twisting after a few months.
Don't Cheap Out on Glue
I know it's tempting to grab whatever wood glue is cheapest, but hear me out: this is a cutting board. It's going to touch your food. Multiple times. Every day.
Use waterproof wood glue like Titebond III. It's designed to hold up to moisture, which means your joints won't fail when the board gets washed. A good glue job is what separates a board that'll last decades from one that'll fall apart next year.
The Five Steps (Yes, Just Five!)
Making a side grain cutting board breaks down into five pretty straightforward steps:
- Cut your wood strips to size
- Glue them together (remember those alternating grain patterns!)
- Trim everything to final dimensions
- Sand through progressively finer grits
- Season with oil and wax
Honestly, the sanding step is where you'll spend the most time, but it's also where the magic happens. Going from rough 80-grit all the way to silky 220-grit gives you that smooth, satisfying surface you'll love chopping on.
Oil: Your Board's Best Friend
Once your board is assembled and sanded, it needs seasoning. This isn't optional — it's essential.
Wood is naturally porous, and without protection, it'll soak up all the juices from your garlic, meat, and vegetables. That leads to staining, odors, and eventually warping or cracking.
Kline uses a two-step approach: first, a heavy coat of food-safe oil (like Walrus Oil or mineral oil) that soaks in for about 24 hours. Then, a layer of cutting board wax to seal everything in. Buff it with a clean rag, and you're ready to roll.
Pro tip: treat your board every few weeks with a fresh coat of oil, and it'll stay beautiful for years.
Is This Project for You?
Here's my honest take: if you've got a weekend afternoon and access to basic tools (even a circular saw works), you can absolutely make this. It's forgiving — mistakes are easy to sand out. And the satisfaction of chopping vegetables on something you built yourself? Absolutely worth it.
Plus, handmade cutting boards make incredible gifts. Trust me, your friends and family will be impressed.
So what do you say? Ready to retire that sad plastic board and build something you'll actually be proud of?
Source: Popular Mechanics - How to Make a DIY Side Grain Cutting Board